Pocket Lucho's Neo Pocket Arcade
Pocket Lucho's Neo Pocket Arcade
Translation from Spanish to English by Google.
1. The Board
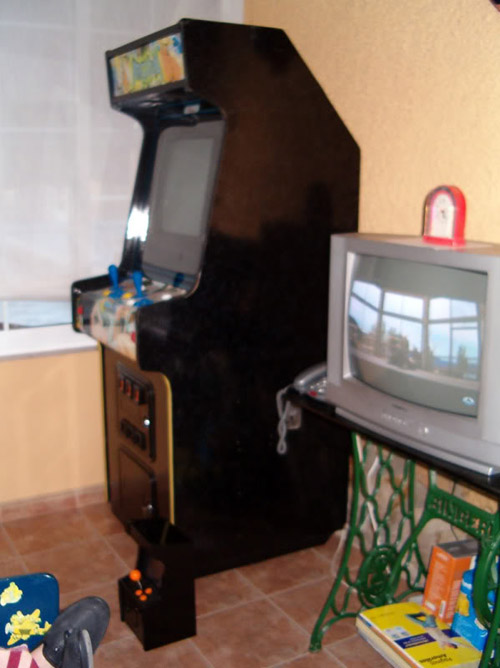
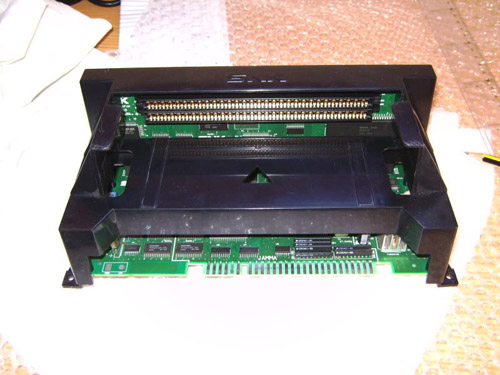
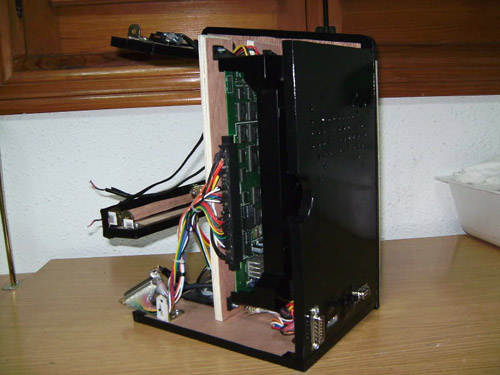
The first is to choose which board between all MVS. The MV-1B was the horizontal load,
the more appropriate choice for the size of the cabinet and placed upright behind getting the cartridges will be seen as part of the cabinet:
The issue of preparation compared to the Genesis 3 is not particularly mysterious, welding cables to make a pause button and the menu of services to choose difficulty, lives, etc.
To this end soldered to the ends of the jumpers 1 and 8 to two switches. Could be added as optional but as the universe changes in this model is welded step, and I put in the big maka:
To output video / audio input and the current controls and modify a Jamma and we do a mini-gun, the scheme can be found in this forum or as provided in gamesx:
http://www.gamesx.com/arcade/jamma.htm
In gamesx commented that the pad and stick newstyle requires +5 V put in command. I checked and it is true, so if it is to operate all the controls, we must put this line.
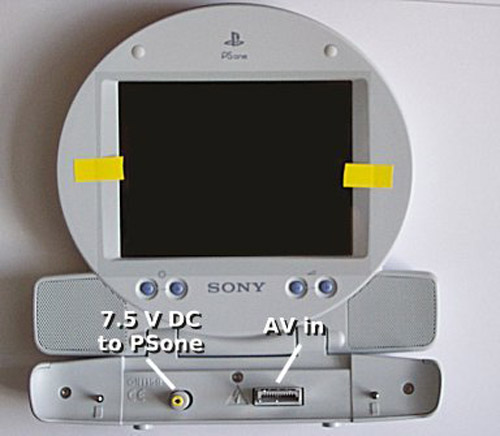
2. The Screen
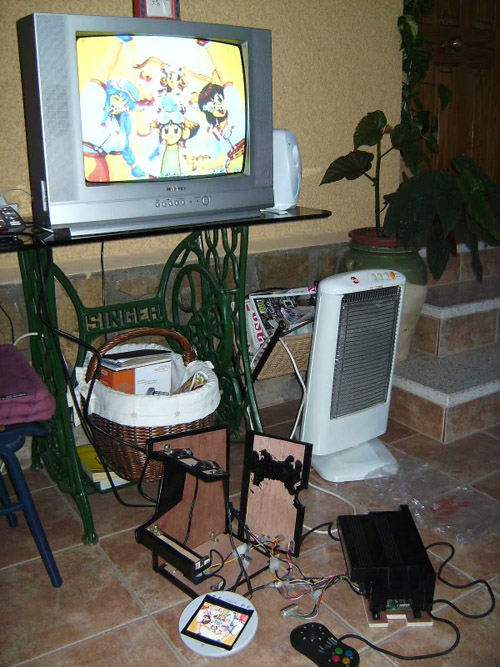
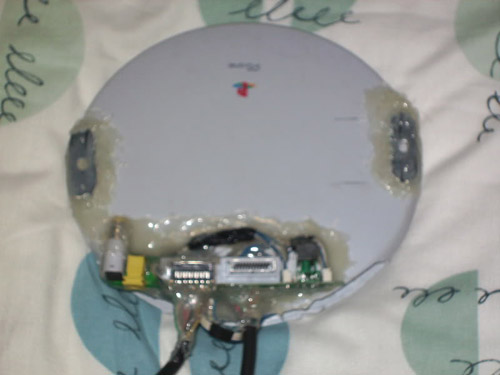
We start from the PSone screen, as always, I test with other screens for PSTwo but the quality leaves much to be desired, are 16:9 (deformed), caught SVIDEO (duller colors) or composite video (interference) or rare resolutions (scale the image) so I am left with the condition that gives a very high quality. We start with this:
Remove the screws, 4 and 2 below protectors speakers above the screen under a gum drops.
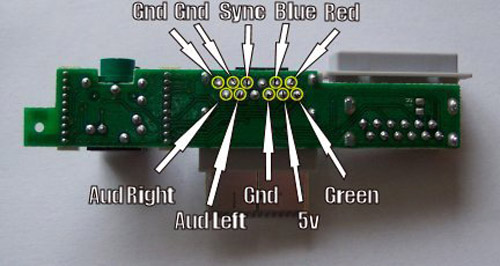
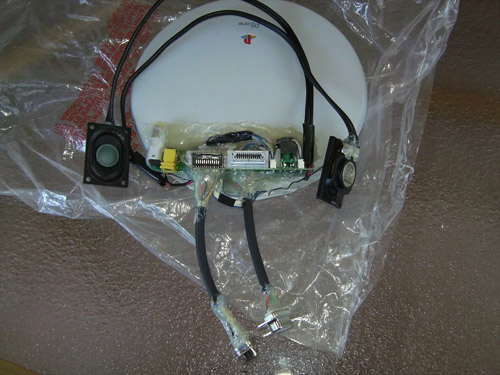
Cut out ears, extension speaker cable, remove the bottom and pay the entry and exit rgb to the following schedule:
http://www.retroleum.co.uk/psone_lcd.html
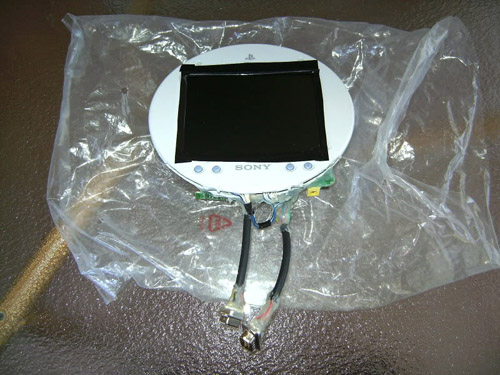
All attach to the back with the gun pegamente and line the edge of the screen to black is not white then. The result is something like this:
In previous minimakas it to a current output feeding the plate, either the genesis or 3 pc-engine due to working a 9 V, the screen to 7.5 V.
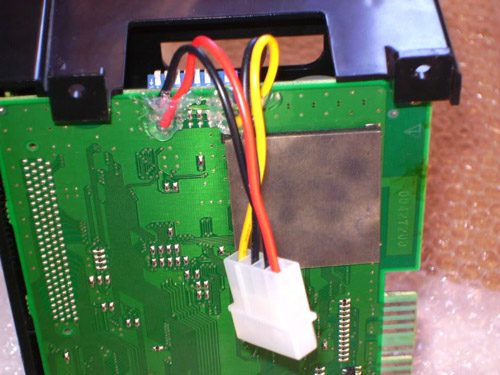
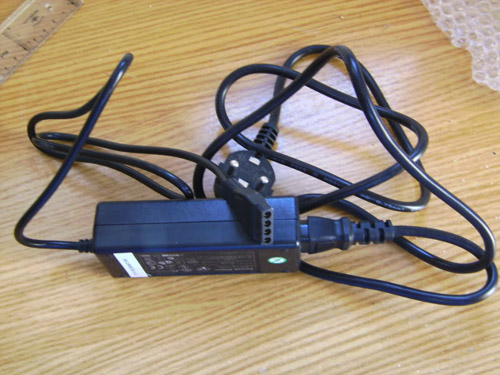
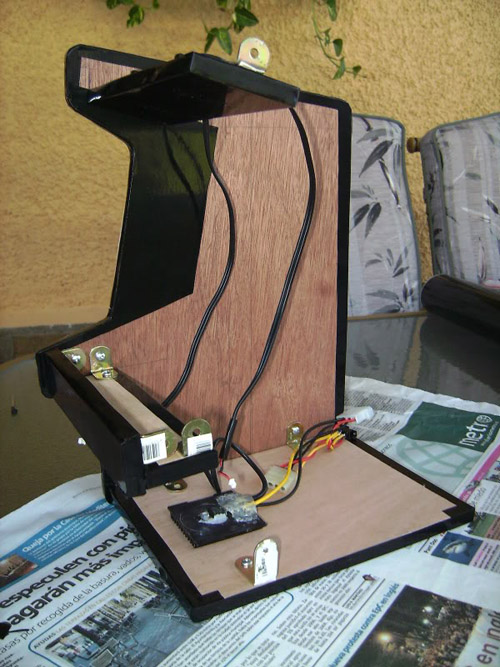
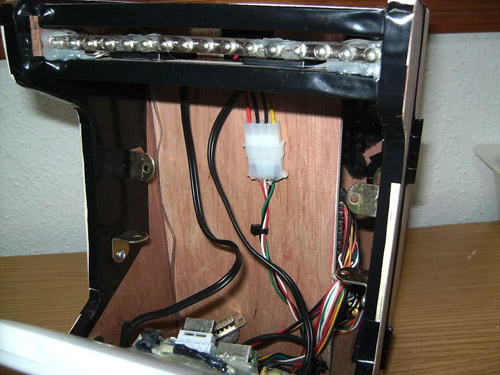
And the source of the PSTwo which use 8.5 V gives a tolerable voltage across the screen and board. For the MVS is different, the board asked 12V and +5, but I get this precious source, no source mamotretos pc comes with a usb-ide adapter to conceptronics:
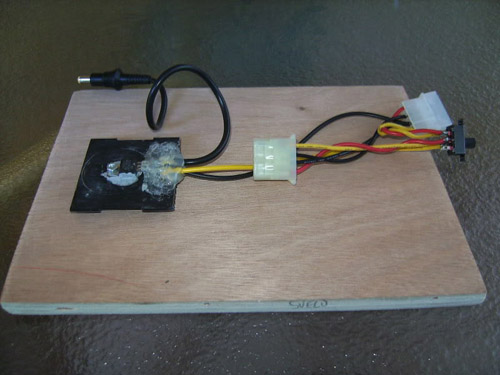
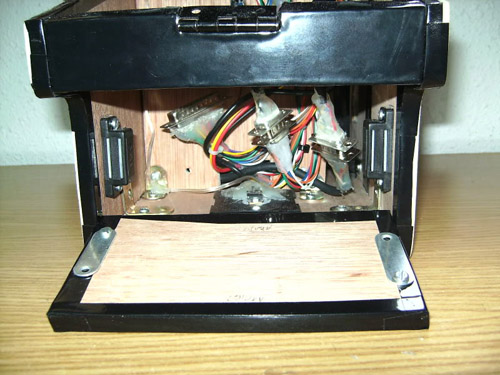
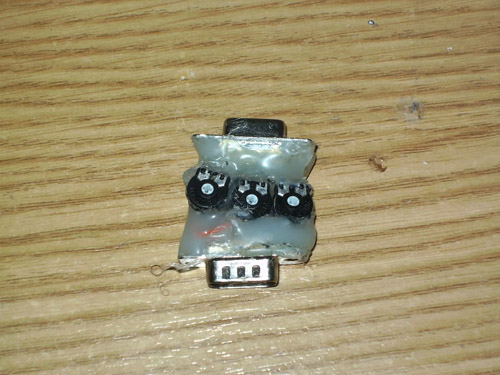
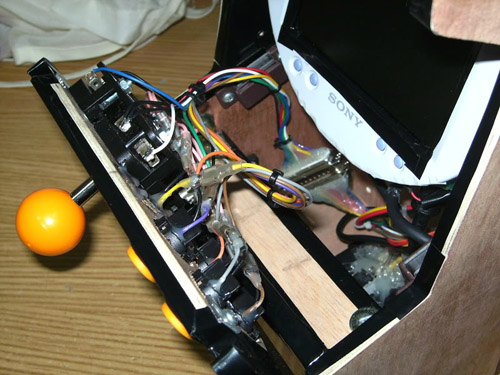
To remove this 8V use L7808, which is like the 7805 but would give us 8V and 12V instead of 5V. We put a dispador not to exploit us and wing fixed. We put a dispador not to exploit us and fixed wing. Here is a photo of the subject invention and the base on the right shows the current input and the power switch in the center of the current input to the board and right the L7808 and the current output to the screen :
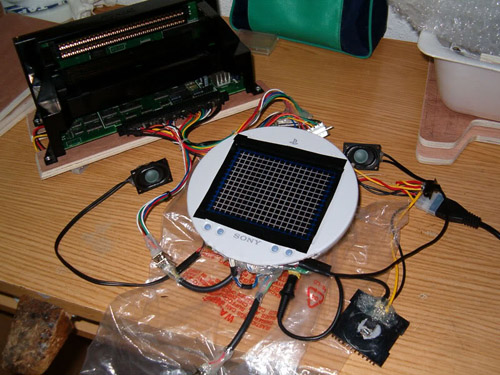
And here all the running shed: And here all working platform:
3. The Housing
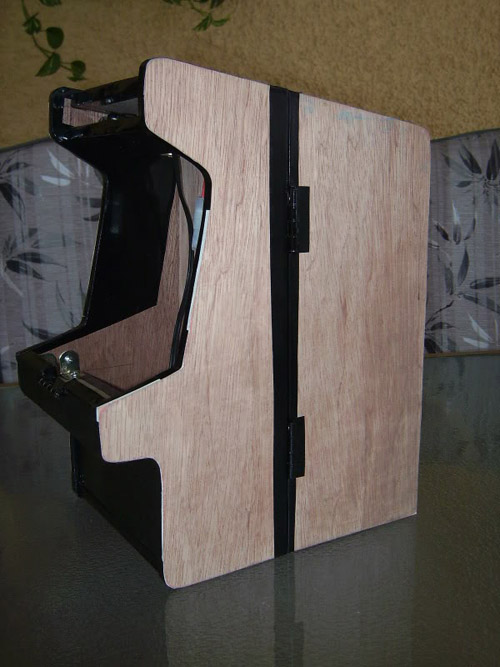
Based on the size of the plate, the design of the furniture is similar to the previous rather than just more money. To pretend I do not need as much foundation, the front or cabinet will be like in 'real', with a projection. Neither is open from behind, but on the right side, because if you respect the 16 cm wide, it is impossible to get the cartridges from the rear.
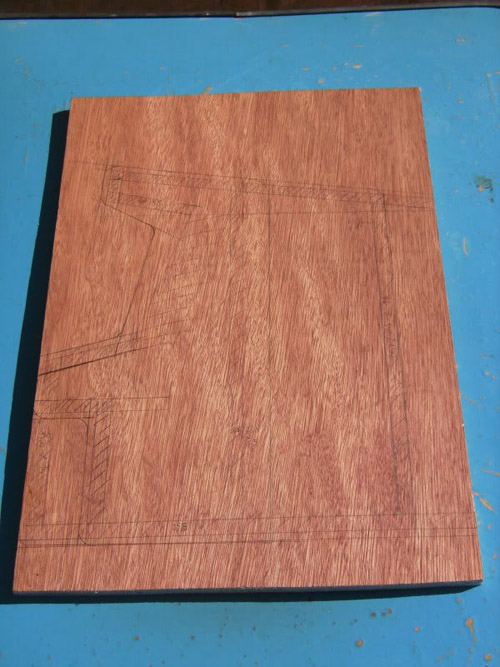
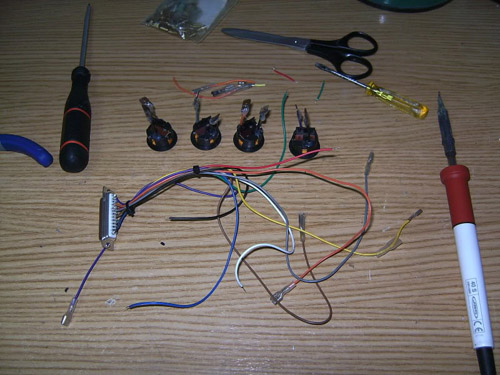
I also changed a bit the method of manufacturing / assembly, as I have no design at all clear, I will be making the pieces one by one. As never since, here's my tools along with the fabulous beach short table timber: P Here you have the left side with its new model Jennifer Lopez ass.
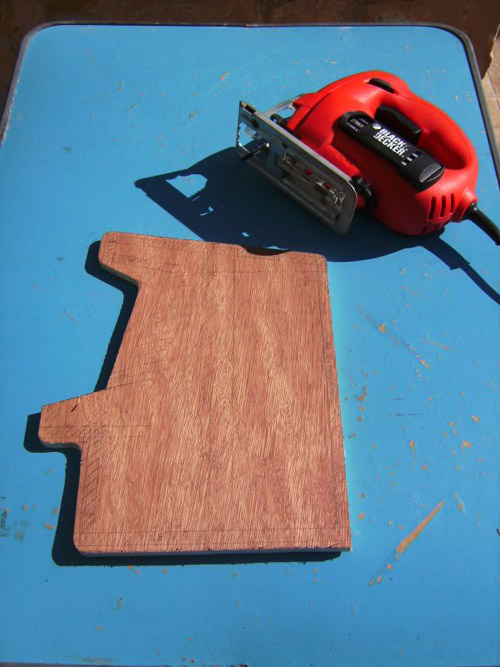
Comparison of the new side with the former prospect is a little deceiving.
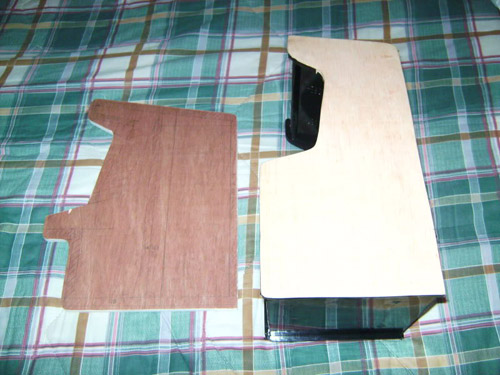
After cutting the wood must be well sanded.

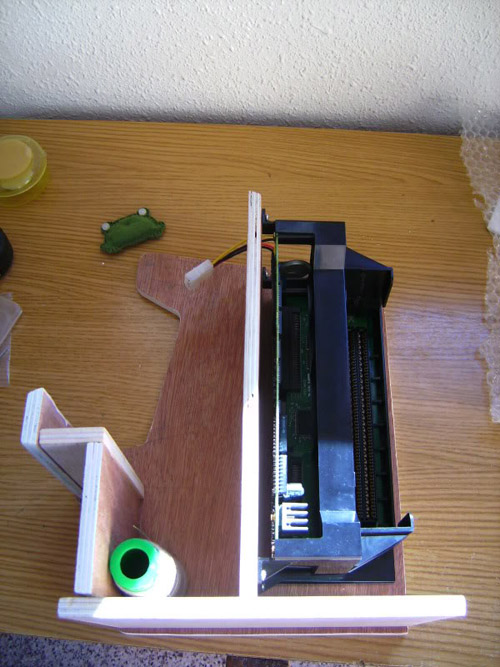
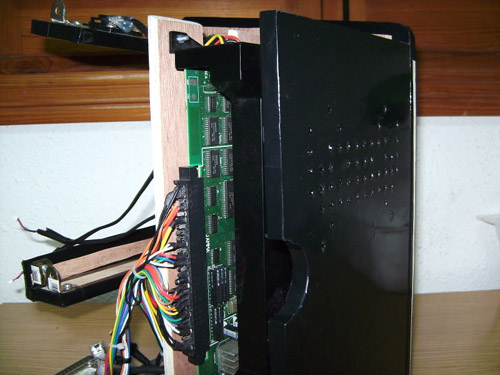
Here's a show as will be incorporated in the board as you see, is not that much space on precisely.
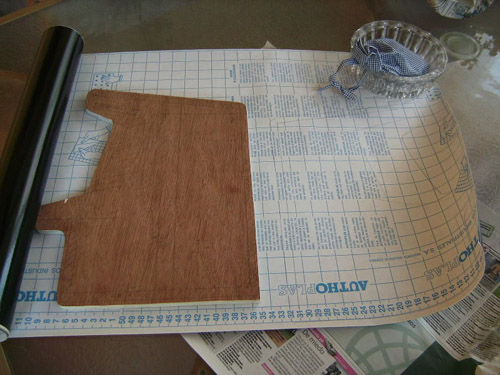
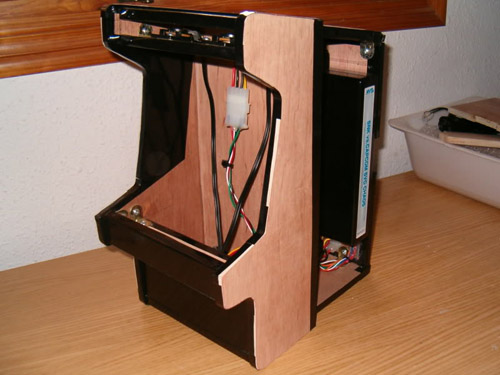
Taking the basic pieces, we turn to the liner and mount. Taking the basic pieces, we turn to the liner and mount.
For assembly, with base side, bottom and front and then finally the speakers.
The notch on the side is able to make the cartridge fit more comfortably. This piece takes a lot of cuts, many holes made by hand with a Dremel.
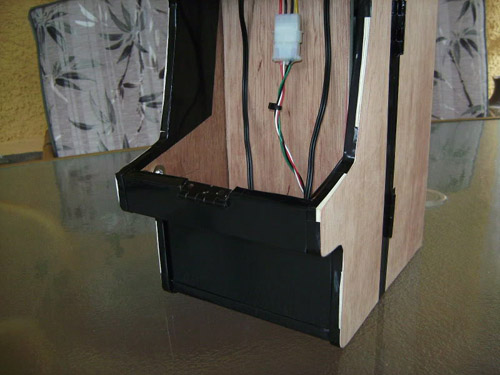
Connectors for input / output and their wiring, the ventilation holes must be painted to fit well. Of the parts is more time consuming.
From left to right connector for the pad of the second player, power connector, switch encidido, switches pause menu and service and finally the RGB output for TV.
As there is very good, detailed Space Invader, I'm running now without design.
Before continuing we must try everything and see it works: Before continuing we must try everything and see what works:
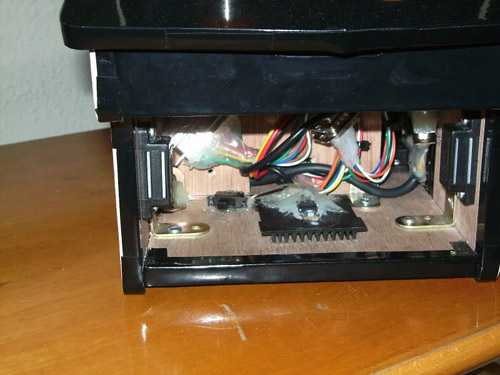
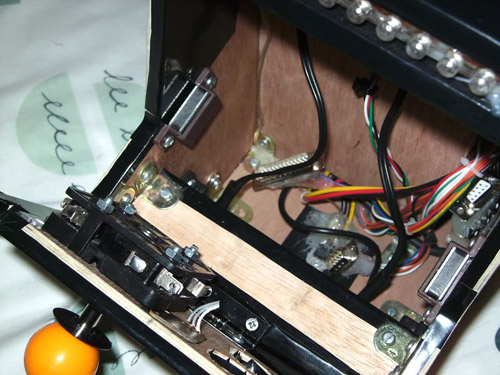
How is everything, we can put the piece and the central support of the board, the design enables extraction (more or less).

Now you can attach the fixed part of the right side and front panel, the command below, you subject with magnets that can be easily removed.
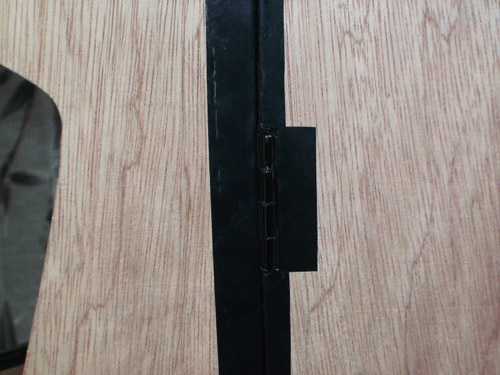
The flip side of going with 2 visagras, we must make some notches to make them as unobtrusive as possible.
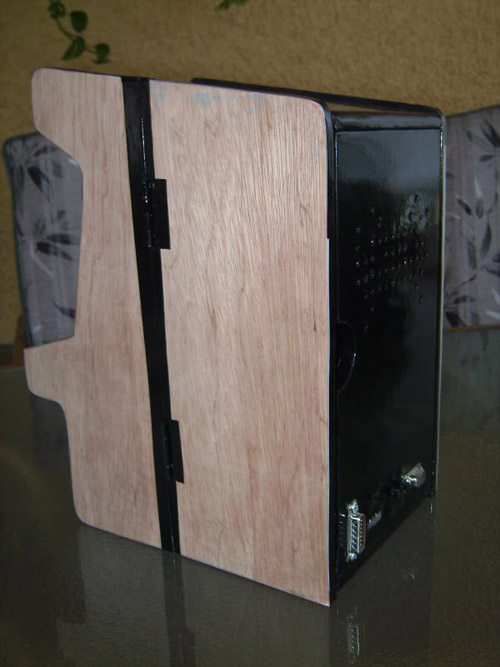
As you can see is the gap is less visible.
The lid could be smaller, but the idea is that the MVS can be expected in case of failure. As you can see,
I had to cut a bit inside the lid of the cartridge in the area since it protrudes a few millimeters, but if anything serious heavy do.
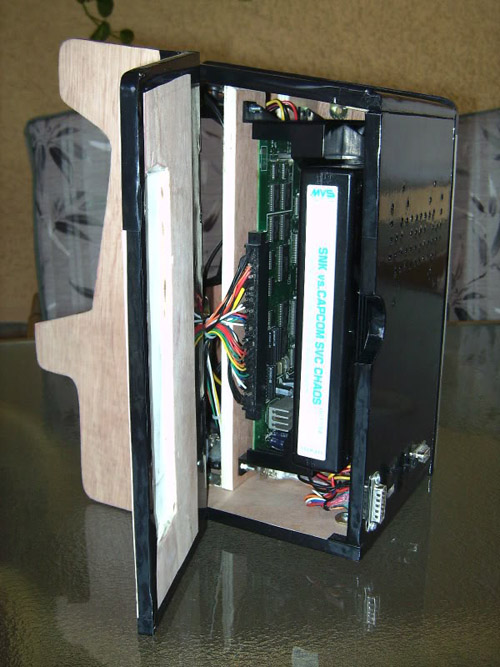

Both the lid and the front cover have a magnet to keep the door closed and keep any dust from coming into the system.

To illuminate the marquee I opted for a strip of LEDs which is made for cars.
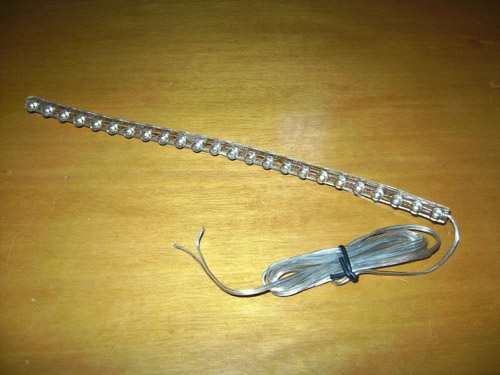
It uses 12 volts (perfect) and there are multiple sizes and is held in place with hot glue and nothing else.
While turning on the lights I noticed that they are very bright and might be blinding so I put a switch to turn off the power!
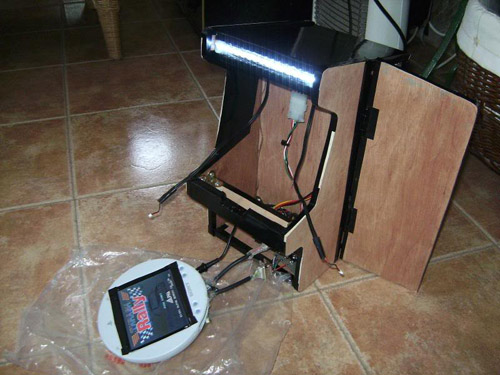
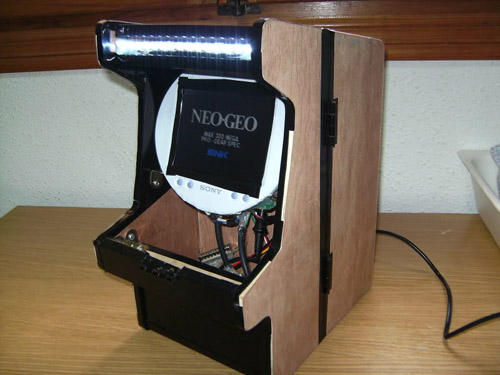
The sits on a few perches to hold it up and is also held up by the control panel.
Here with the screen in place.
Later I decided to change the system of support by holding visagras magnet, that is pq minimakas in the previous screen was subject to the part of the speakers,
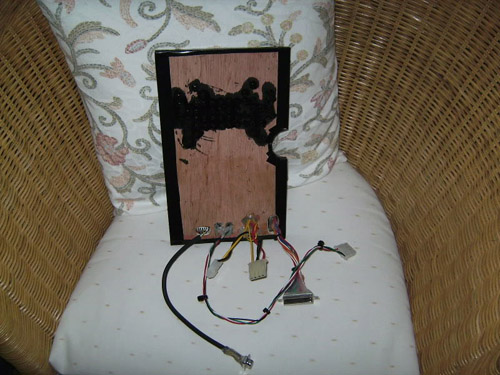
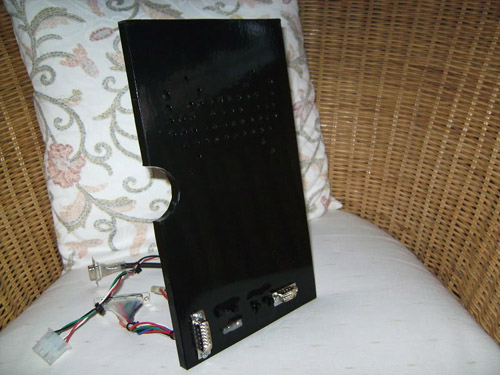
the panel was fixed mandoque and 2 visagras behind the screen, as in this model is the panel not fixed, I thought of using magnets. Is more expensive but much more subject and even a little to adjust the height, is much, much better that way. First fixed boards that attach the magnets with hot glue since I can not put screws just below the board and fill the surface of the cover:
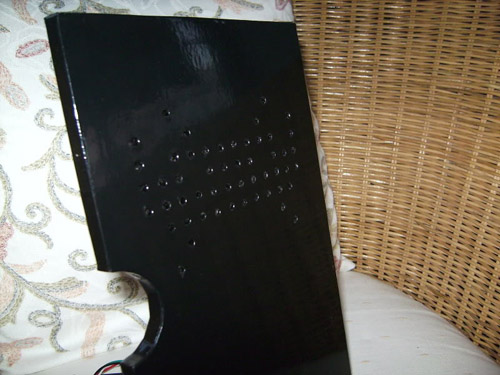
And then adjust the magnets carefully so that they are the right angle and height:
I noticed that the output signal of the RGB MVS is very strong for some color televisions as it should be so I decided to put this circuit between screen and output RGB.
It consists of 3 1k potentiometers so I can adjust the output levels to adjust the brightness of the picture.
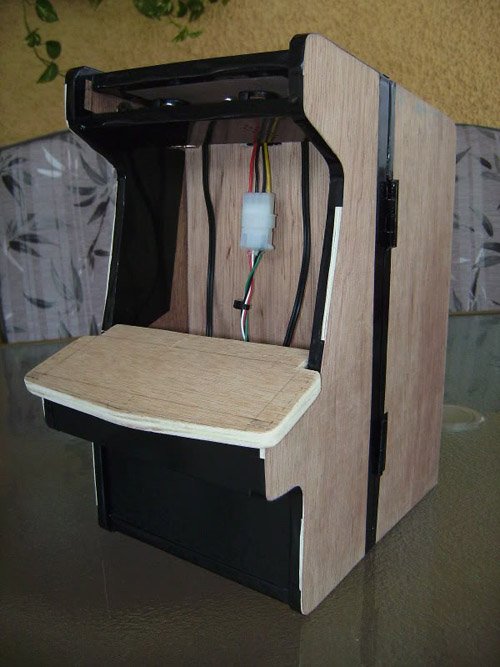
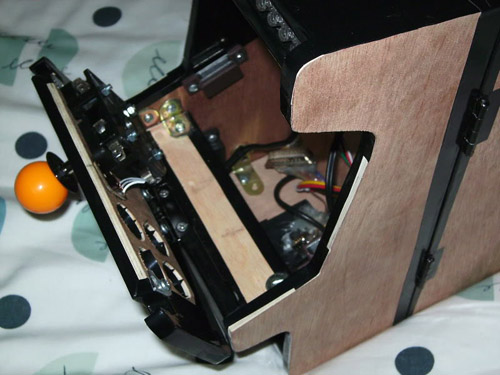
For the controls I decided to do differently, rather than sunken it will be supported on the cabinet and will be opened like in a real arcade cabinet.
This way it can be larger and more comfortable to play. To do this I had to move the wood to the front cap (before leaving half a centimeter) and deduct space to put the parts on the control panel.
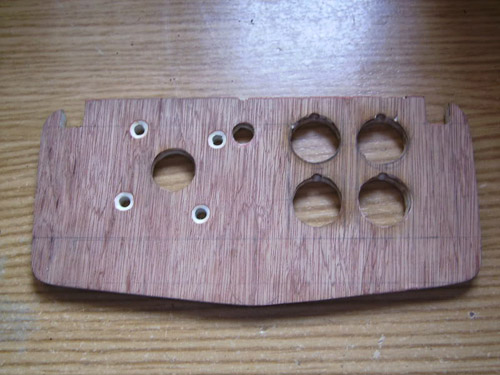
This panel was just to test fit and get an idea if I should make the panel bigger or smaller.
The new control panel was made from a larger grain wood to show the texture and also I increased the size of the panel to accommodate the player's hands when using the controls.
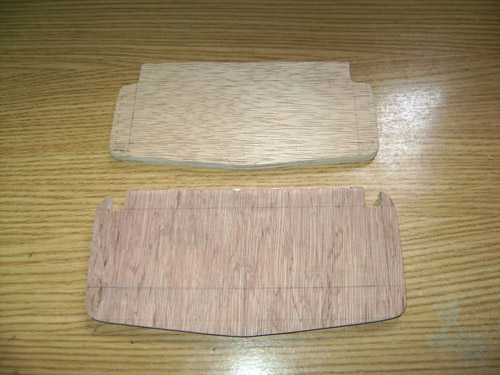
Test fit to ensure I don't need to make a bigger control panel.
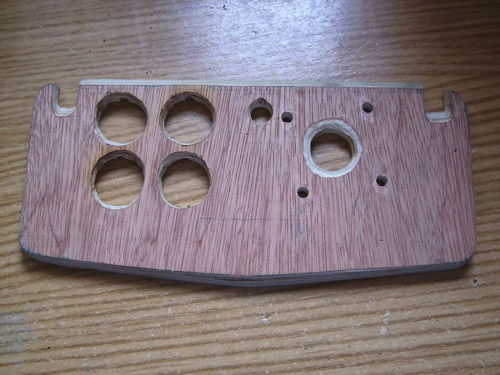
As I have been pleased with the test now comes the part of the holes of the buttons above and detailed below:
The wood is a bit filed out.
It stuffs the control (above and below) and the hinge is attached to the cabinet:
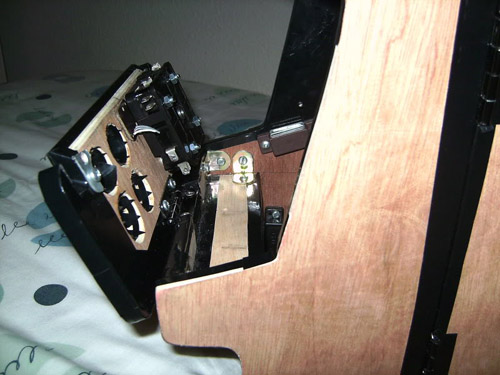
I have put 2 magnets to hold down the control panel. It was hard to find a place where I could use a sheet metal hook and didn't want it visible from any angles.

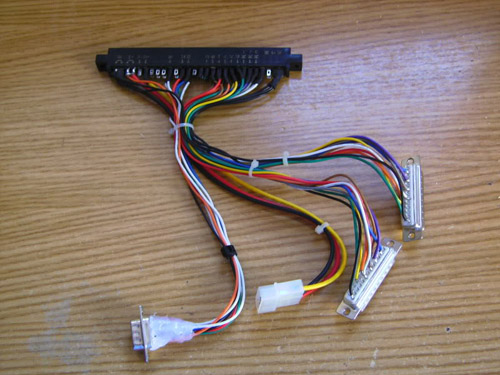
Once in contact all the buttons I prepare by putting them in position with cables terminations removable without forgetting the 'octopus' of cables that will serve as an interface between the buttons / stick and mini-gun that attaches to the MVS:
Because the command is not fixed as in the previous ministers, the lands are welded to the portion of the lever would have preferred but could be removed without soldering.
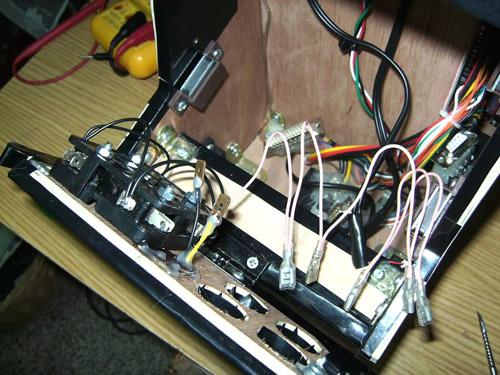
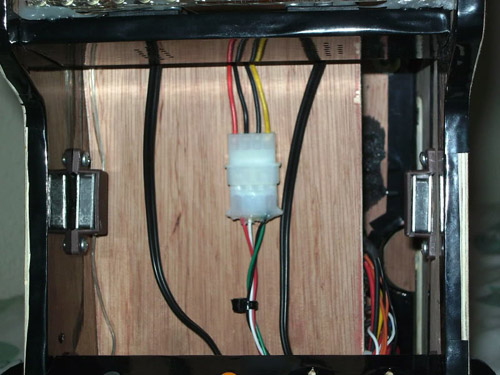
When testing that everything works as it should have to fasten the cables so that everything is orderly and also helps that there is trouble:
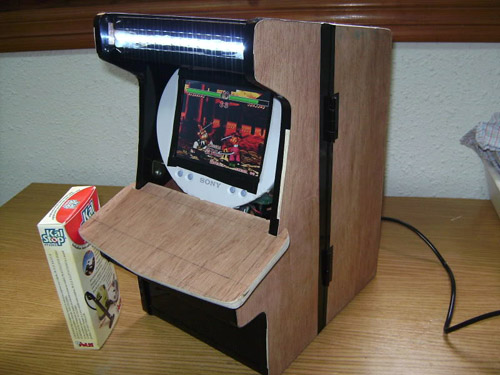
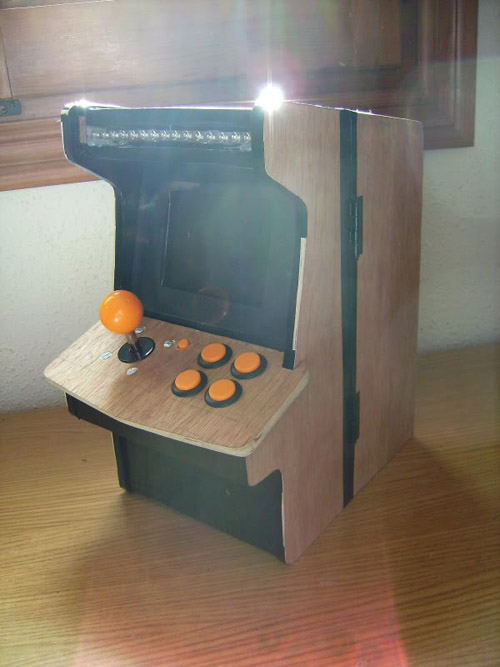
And now we have a mini NeoGeo cabinet that can play almost anything. Since you only have to put vinyl on the sides, marquee, bezel, etc. the important thing, is that you can play is finished.
Here is a video of it in action:
You can see his most recent project here: http://www.retrovicio.com/foro/showthread.php?t=2788